WP Traffic Guard – Turning Your Lost Traffic In To Commissions…
aka ‘Less Fun Than Lemmings, But More Profits In Your Pockets’
(se below for the Lemmings 404 error page example)
There’s a Lost Source Of Traffic On WordPress That Most Blog Owners Either Don’t Know About, Or Simply Ignore – This Is How You Can Plug This Hole!
404 errors are a natural and unavoidable by product of running a blog.
Whether it’s because you’ve removed content, or changed the URL, or perhaps just someone linking to you with the wrong address, usually a simple case of a typo..
In fact, only 17% of your 404 errors on your site come down to your own mistakes.
The remaining 83% are due to user errors and poor indexing from the search engines
The end result is wasted clicks and lost visitors!
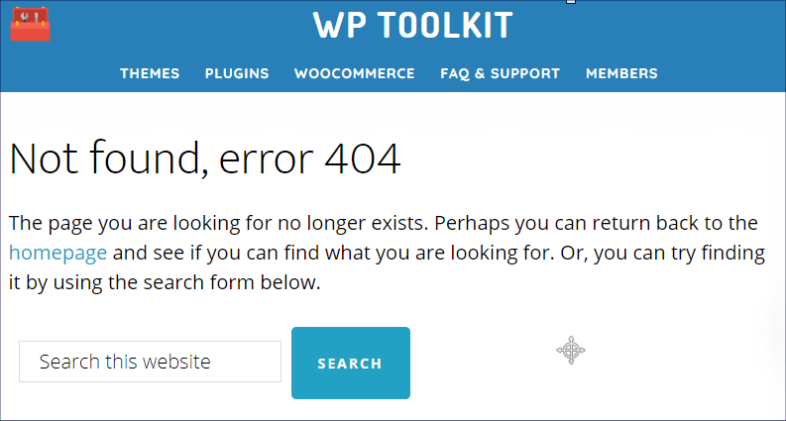
Have you checked out the default WP 404 error page?
It’s not designed to help your sites bottom line…
In other words there’s a big chunk of visitors to your site that end up on a page that is boring at best, a page that has zero chance of converting them into a lead or a sale.
A recent study shows that 75% of the people who hit a 404 error page on your site won’t even give you a second chance, ever!
So you are wasting a huge amount of opportunities to make money, every single day!
Now there are some sites out there that have come up with individual, novel and sometimes very entertaining variations on the 404 page, my favourite is probably the Lemmings 404 Page here: –
https://www.romainbrasier.fr/404.html
But as a marketer I wanted to find a way of turning this lost traffic in to a positive for my blog and my business…
and a couple of brainstorming sessions with my business partner and coder resulted in the latest edition to the WP Toolkit plugin suite –
WP Traffic Guard turns your 404 pages in to a self optimizing, commission generating opportunity for you in 3 steps!
Here’s an example of what it looks like with WP Traffic Guard – a selection of self optimizing, relevant offers for those lost visitors to click on, instead of clicking the back button and disappearing forever –

So how long does it take to get up and running?
Step #1 is to install & activate the WP Traffic Guard plugin, which should take less than a minute
Step 2 is to import that default banner pack from the zip file included with WP Traffic Guard
We like to make life as easy as possible, so we’ve built in an import function and given all users a default ad pack with 12 blog related offers, with 17 banner variations.
Simply choose the file and click import banner pack, it should complete the process in 20-30 seconds, although it can take longer if you have a slow internet connection or slow web server.
Once it’s completed you’ll see all the ads listed on the page.
Step #3 is to click on edit and replace the ‘Ad URL’ with your own affiliate link for each offer.
If you’ve already got your affiliate links this should only take a couple of minutes.
If you don’t have the affiliate links then you’ll need to request these using the links in the text file included, which also has a ‘guaranteed approval’ code that you can use to make sure you are approved even if you are a beginner to affiliate marketing with no previous ‘record’ on WarriorPlus.
in the banner pack zip file there is a text file with all the affiliate request links and information so you can grab your links.
Once you’ve updated those links you’re done, the banners are live and your 404 page is now monetized!
Your blog now has a selection banner ads appearing to give visitors who end up on the 404 error page something to click on that’s actually going to get you an optin or sale, putting more profits in your pocket and all from traffic that was previously just lost and wasted…
There are a bunch more options available to help you get more out of the plugin, including:
– The option to add your own banners for other offers, including your own
e.g. you could turn your 404 page into a catalogue of your offers!
– Auto optimize the ads to prioritize the best performing ads over time, so you can swap out the under-performing one’s with new offers to split test for the best possible results
– 2 different template layout styles for the 404 page
– A custom css option to give you even more control over the look and feel of your 404 page
And we’ve included a new icon in the post and pages creation/edit panel to let you quickly pick and include any of your banners inside your posts and pages as well!
There’s also the reporting, after all this is a 404 ERROR page plugin and in the long term you should still be checking those error page URL’s to see what you need to fix, especially where someone has linked to you with a ‘mis-spelt’ URL that’s going to the wrong page.
This should simply be a case of reaching out to them and asking them to fix the typo.
You also get full reporting on the 404 page ad performance, as well as the performance of the ads you include in posts & pages.
At the end of the day most bloggers are either unaware of their 404 error page traffic, or simply ignore it because they don’t have any way to do something better with it, so they end up with wasted clicks, unhappy visitors and lost profits
That doesn’t have to be you, WP Traffic Guard fixes this for you in just 3 simple steps, putting more money in your pocket from traffic you’re already getting!


